Calm down sensory bottles, or calm down jars, are one of our favourite quiet activities any day. With the Christmas holidays approaching we thought parents and educators would like to revisit ideas of quiet play and calm down activities. These activities are the perfect distraction when kids are waiting for an art activity to be prepared, a messy play session being packed away or simply during travelling or any other quiet time.
Calm down sensory bottles have been used by parents, teachers and therapists to help children self-regulate their breathing, thoughts, and improve their focus. They are fantastic for kids who are easily overwhelmed or have difficulty self-regulating feelings and emotions. Sensory bottles draw a child’s focus away from a situation with ease. It’s also a very helpful tool in defusing a tantrum.
It’s very important to find a sensory bottle that’s right for you and your kids. There are many ways to DIY using plastic Voss water bottles, although any clear plastic bottle could work.
The only downside of DIY Calm down sensory bottles is that you need to be very careful making sure the lid is secured with super glue once the bottle is complete. This will prevent glitter or oil being spread across the room and your quiet activity turning into the messiest of the plays. Also please remember that hot glue doesn’t adhere well to the plastic.
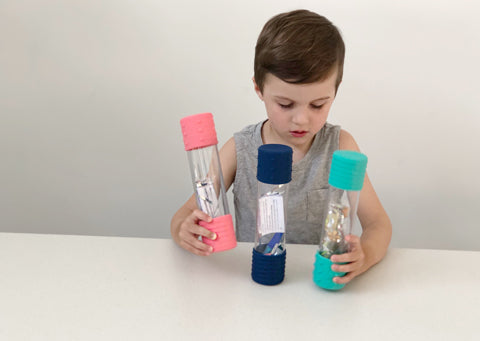
We’ve done our fair share of DIY Sensory Bottles and we’re beyond excited to have partnered with Jellystone Designs to design three beautiful DIY Calm Down Bottles.
These bottles are developed to complement our sensory range of
- Kid's Chew Pendants: Owl, Rainbow and Robots.
- Award winning Stackers and Teethers in Rainbow, Ocean and Pastel colours.
- Colourwheels in Rainbow and Pastel colours.
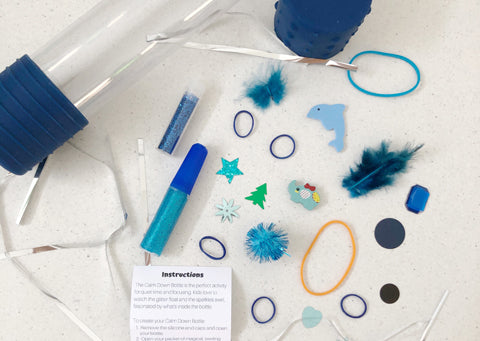
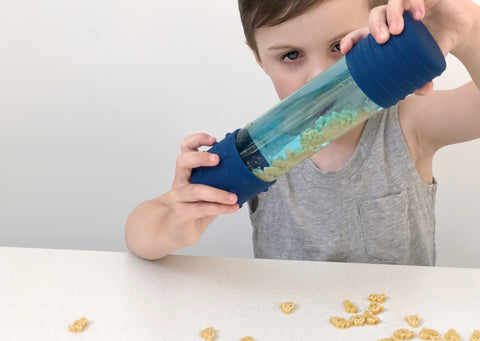
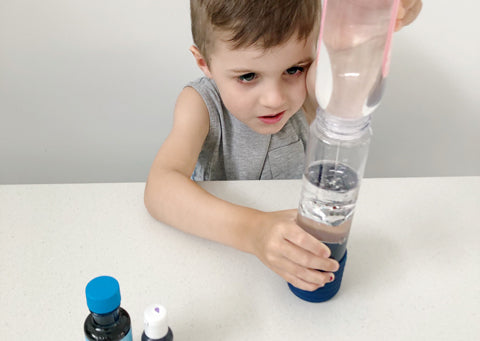
Jellystone DIY Calm Down Bottle is a unique sensory bottle with all the creative elements required to create a sensory bottle perfect for your child. Just add water and a dash of washing up liquid and it's ready to go!
There are almost endless combinations that can be used to fill our sensory bottles. Below are a few of our favourites.
Glitter Bottle
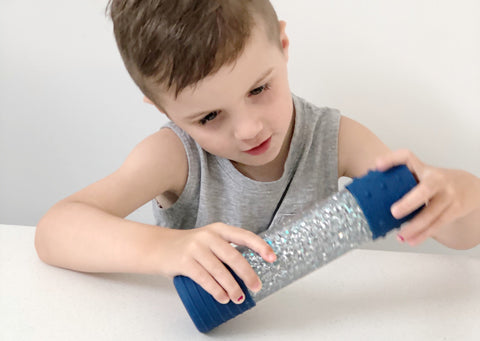
One of the most popular sensory bottles. The more glitter glue added, the slower the glitter will move to the bottom of the bottle.
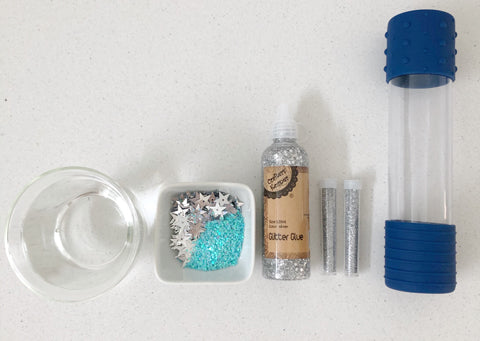
You’ll need:
- ½ cup of glitter glue
- 300ml warm water
- Extra glitter and sparkles.
Method:
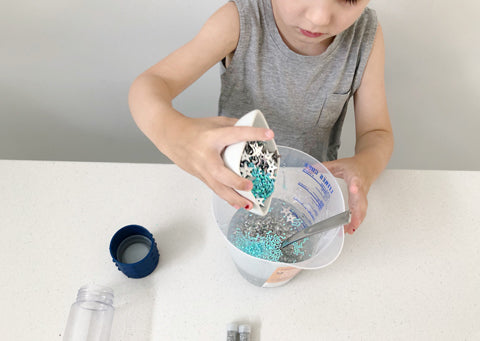
- Whisk water and glitter glue in a jug and then add extra glitter and sparkles.
- Add mixture to the bottle and secure the lid. Done!
Note: If you’re using your own DIY bottle, make sure you super glue the lid.
Lava Bottle
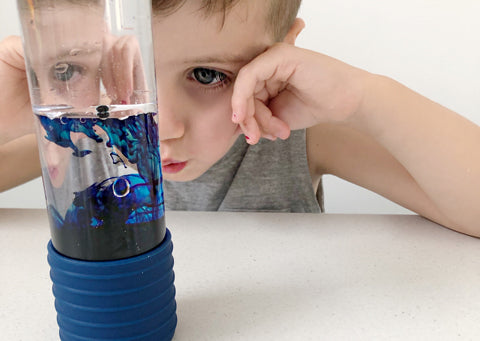
One of our new favourites oil and water lava lamp bottles.
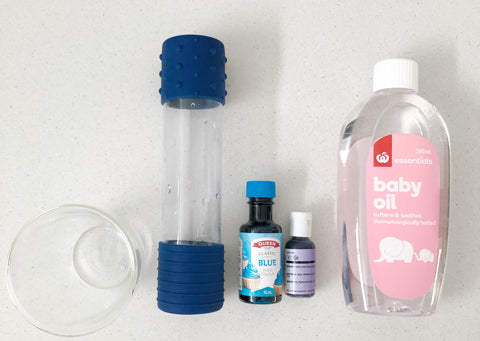
You’ll need:
- 50% baby oil
- 50% water with a few drops of food colouring.
Method:
- Add all the ingredients to the bottle.
- Secure the lid and let your kids shake it until the colour has mixed with the water.
Note: If you’re using your own DIY bottle, make sure you super glue the lid.
Water Bead Bottle
One of the simplest and most fun sensory bottles with just water beads. Changing the bead to water ratio changes the interaction of the water beads. Try a quarter of the bottle filled so kids can spin the beads and create a tornado.
You’ll need:
- Water
- Water beads.
Method:
- Soak the beads overnight in water.
- Fill the bottle with the soaked water beads and a small amount of water and secure the lid.
Note: If you’re using your own DIY bottle, make sure you super glue the lid.
Floating Buttons Bottle
Finding a way to make the buttons appear to float and then to gently swirl to the bottom of the bottle took a lot of trial and error. In the end we found the following recipe worked the best.
You’ll need:
- ½ cup glucose syrup
- 1½ cups of warm water
- Buttons in a range of shapes, sizes and colours.
Method:
- Add warm water and glucose to the bottle and shake until combined.
- Add the buttons and observe. If the buttons fall too quickly add more glucose to the water.
- Continue until the buttons suspend and secure the lid.
Note: If you’re using your own DIY bottle, make sure you super glue the lid.
I Spy Bottle
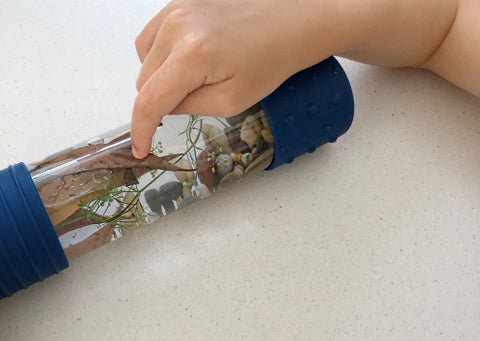
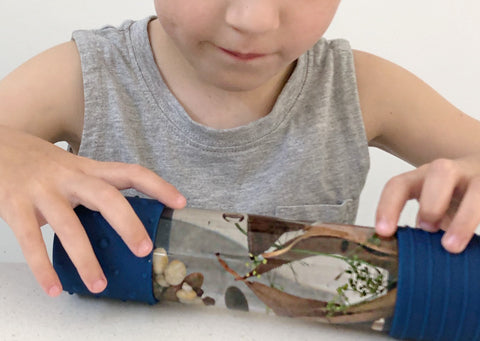
A perfect on the go Sensory Bottle to keep little ones engaged and searching.
You’ll need:
- Rainbow Rice or just water.
- Small plastic animals, leaves, pebbles or any other small objects.
Method:
- Arrange the animals, leaves or other objects on a piece of paper and take a photo to make the “I spy” card.
- Print and laminate the card ready to attach to the top of the bottle.
- Ask kids to select a few animals to be added and secure the lid once you done.
Note: If you’re using your own DIY bottle, make sure you super glue the lid.
There are so many more sensory bottles that you can make. Improvise and have some fun in the process. Let us know if you've got some amazing ideas!




Ty for the instructions on how to do this. Been wanting to do and try on my Grandkids, esp. 3 yr old for a while! 😊
Tina Suarez on